

NSWGR CPH by Eureka models
- Jun 6
- 2 min read
Items used:
ESU 58420 LokSound 5 DCC 8 pin decoder
DCCSound premium speakers for Eureka CPH
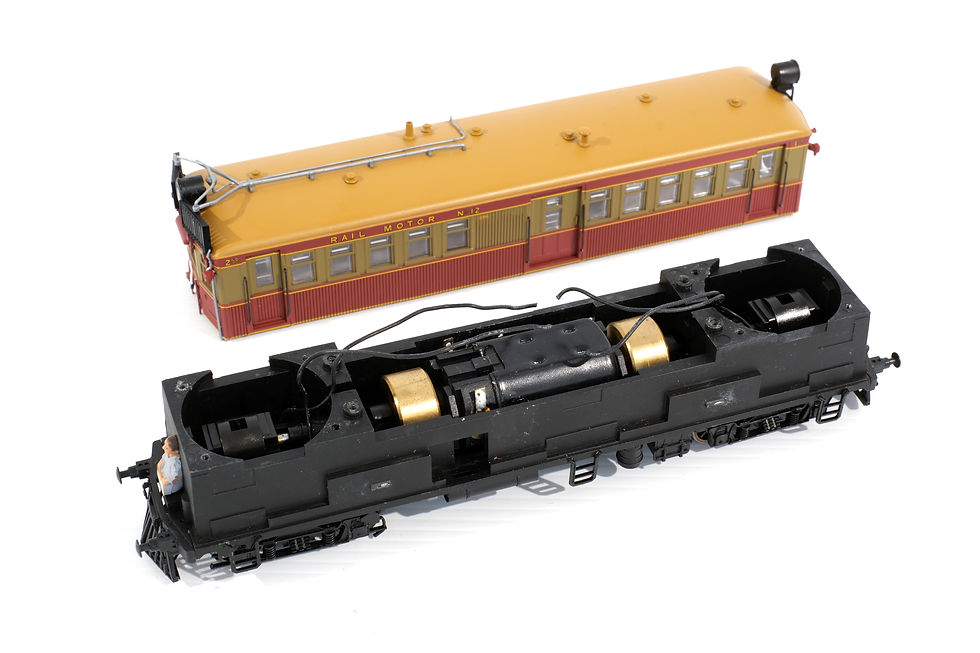
Disassembly:
1) Gently splay out the lower edge of the body and lift it up and away from the chassis.
2) Remove the two factory speaker mounts (light grey) including lighting contact pads (3 per end). Set the lighting pads and wires aside as they will be reused.
3) Remove the two round speakers, along with the QSI/Eureka decoder board.
4) Remove the two switches from the chassis, including the plastic light grey inserts in the side of the chassis, which hold the switches in place.
Installation:
1) Pass the bogie pickup wires through the opening in the chassis near the flywheels.
2) Fit the two DCCSound premium speakers, ensuring the bogie pickup wires aren't pinched between the speaker and chassis in the process. Re-use the specific screws to hold the speakers to the chassis.

3) Two 3D printed flywheel guards drop into place. These reduce the chance of wires contacting the flywheels when the model is reassembled.
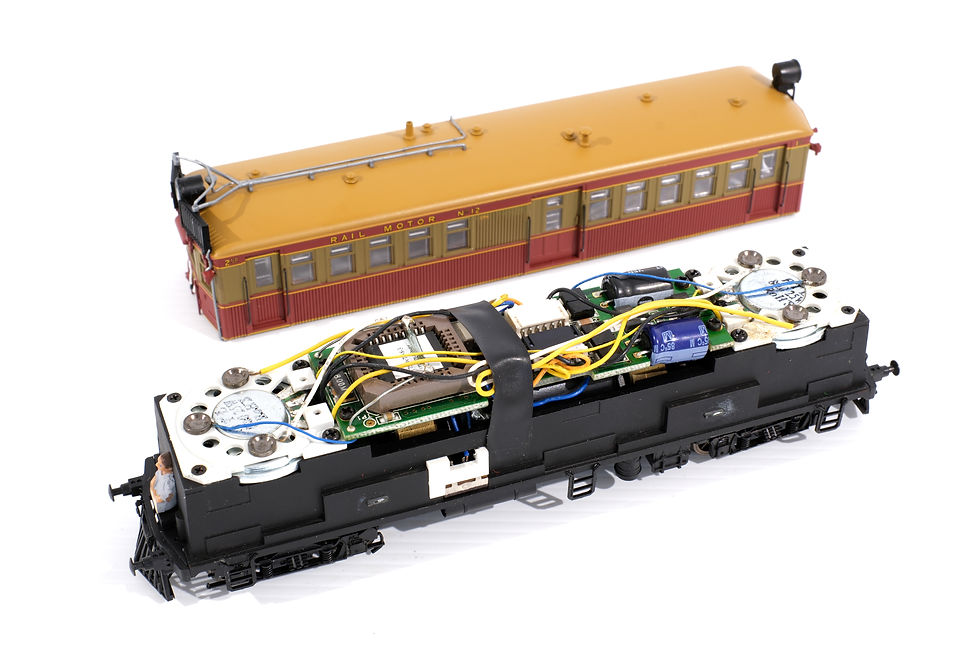
4) Fix the decoder to the motor's housing using double sided tape.
5) Solder the decoder's orange and grey wires to the motor connections
6) Solder the decoder's wires according to:
Red wire to RHS rail pickups
Black wire to LHS rail pickups
Grey wire to RHS motor tab
Orange wire to LHS motor tab
White wire to # 1 end LHS lighting pad (including a 1k ohm resistor) - headlight/white markers
Green (Aux 1) wire to # 2 end LHS lighting pad (including a 1k ohm resistor) - red markers
Yellow wire to # 2 end RHS lighting pad (including a 1k ohm resistor) - headlight/white markers
Purple (Aux 2) wire to # 1 end RHS lighting pad (including a 1k ohm resistor) - red markers
Blue wire to front and rear centre lighting pads
The lighting contact pads are a light press fit into the speakers, though a small drop of glue may be used if required.

Reassembly:
Carefully refit the body over the chassis and test run the model.


Comments